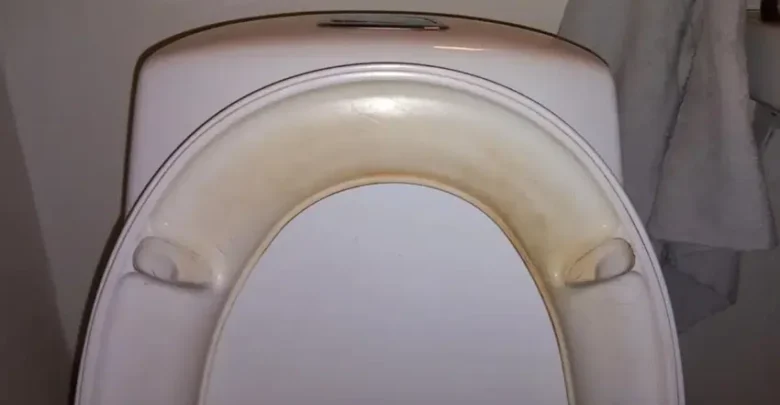
Few domestic discoveries bring on that specific sinking feeling quite like lifting your bathroom lid and spotting a dingy, stubborn ring. Maybe it is a dull amber shadow clinging to the underside of the lid, or perhaps an oxidized mineral waterline mocking your regular weekly swish. You scrub with your trusty blue gel, flush twice, and watch in frustration as the stain stares back untouched. Learning how to remove yellow toilet stains is less about brute elbow grease and more about matching the right household chemistry to the material you are trying to save.
Most of us inherited our bathroom cleaning habits from parents who swore by harsh bleaches and quick surface wipes. The trouble is, modern bathrooms are filled with mixed materials. High-density polypropylene seats, glazed vitreous china bowls, and brass or plastic hinge pins all react differently to cleaning agents. What cleans a hard porcelain bowl can permanently ruin a smooth plastic seat. Let us break down what actually causes those marks, how to clear them without ruining your fixtures, and how to stop them from coming back.
Why Yellow Toilet Stains Keep Coming Back (The Real Culprits)
Before mixing up a cleaning solution, take a second to look at what kind of residue is sitting on the surface. Stains in the bathroom rarely come from a single source. More often, they are a layered cocktail of water chemistry, body oils, and dried organic compounds that bond with porous materials over time.
- Hard Water and Mineral Scale: If your local municipal water or well supply contains high levels of dissolved calcium, magnesium, and iron, every splash leaves microscopic mineral deposits behind. As the water evaporates, those minerals calcify into rough limescale. Once limescale forms, its textured surface acts like Velcro for other grime.
- Uric Acid Crystallization: Micro-splashes contain uric acid salts. When wiped down with plain water or a dry rag, the liquid evaporates, but the acid crystals stay behind. Over weeks, these crystals oxidize into a distinct yellow or orange film on plastic bumpers and hinge covers.
- Micro-Abrasions on Plastic Seats: Plastic is soft. If someone previously used a harsh powdered scouring cleaner or a rough scrubbing pad on the seat, they likely wore away the factory gloss coat. Those invisible micro-grooves grab hold of pigments, turning what should have been a temporary smudge into a stubborn, set-in mark.
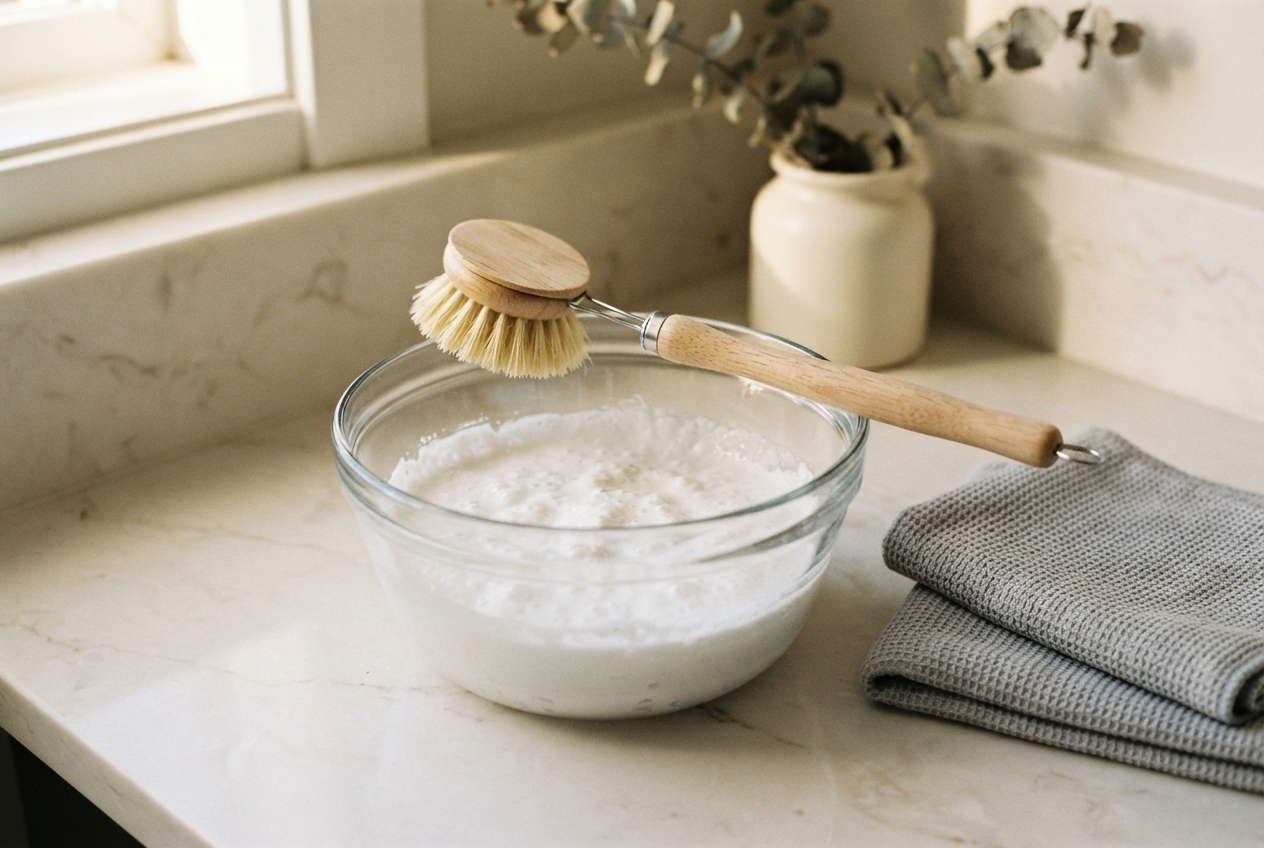
A thick paste of baking soda and hydrogen peroxide lifts stubborn yellow seat stains without scratching delicate plastic finishes.
How to Remove Yellow Toilet Stains from the Seat (Without Ruining the Plastic)
The underside of the seat takes the brunt of daily use, yet it is the most delicate part of the fixture. Many people make the mistake of soaking plastic seats in pure bleach. While bleach is a fantastic disinfectant, it can chemically scorch certain plastics, turning them a permanent, dull shade of yellow that no amount of scrubbing will ever fix.
Instead, reach for standard 3% hydrogen peroxide and baking soda. Hydrogen peroxide is a mild, non-chlorine oxygen bleach that breaks down organic molecules, while baking soda provides gentle alkalinity and just enough slip to lift grime without scratching.
The Oxygen Whitening Paste: Mix half a cup of baking soda with enough 3% hydrogen peroxide to form a spreadable paste with the consistency of Greek yogurt. Smear it generously over the yellowed areas of the seat and let it sit undisturbed for 25 to 30 minutes.
While the paste rests, the peroxide bubbles gently, lifting the oxidized oils and uric acid out of the plastic pores. After half an hour, dampen a soft microfiber cloth with warm water and gently buff the paste off in small circular motions. Rinse thoroughly with a second clean, wet cloth, then towel dry. The physical difference should be visible immediately, without that sharp chemical odor that lingers in your nose for hours.
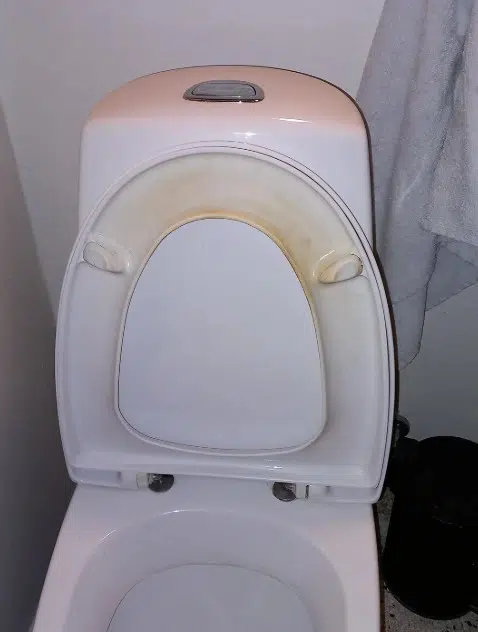
The underside of a plastic seat easily absorbs uric acid and hard water splatters if left unsealed or treated with harsh chemicals.
A Quick Word of Caution on Melamine Sponges
You have probably seen cleaning videos where someone grabs an off-brand melamine foam block and wipes a yellow seat pristine in three seconds flat. It looks like magic on screen, but approach with caution. Melamine foam is essentially ultra-fine abrasive paper. When rubbed across high-gloss plastic, it shaves off the protective finish.
Use a melamine sponge only as a targeted last resort on stubborn spots, and apply light pressure with plenty of warm water. Never scrub your entire seat with dry foam, or you will create a dull, chalky texture that invites future yellowing within weeks.
Tackling the Hinges: The Secret Source of Lingering Odor
You scrubbed the bowl, bleached the rim, and polished the seat, but your bathroom still carries a faint, unpleasant funk. Check your hinge mounts. The tiny gap where the seat brackets anchor into the porcelain bowl is the number one catch basin for rogue drips.
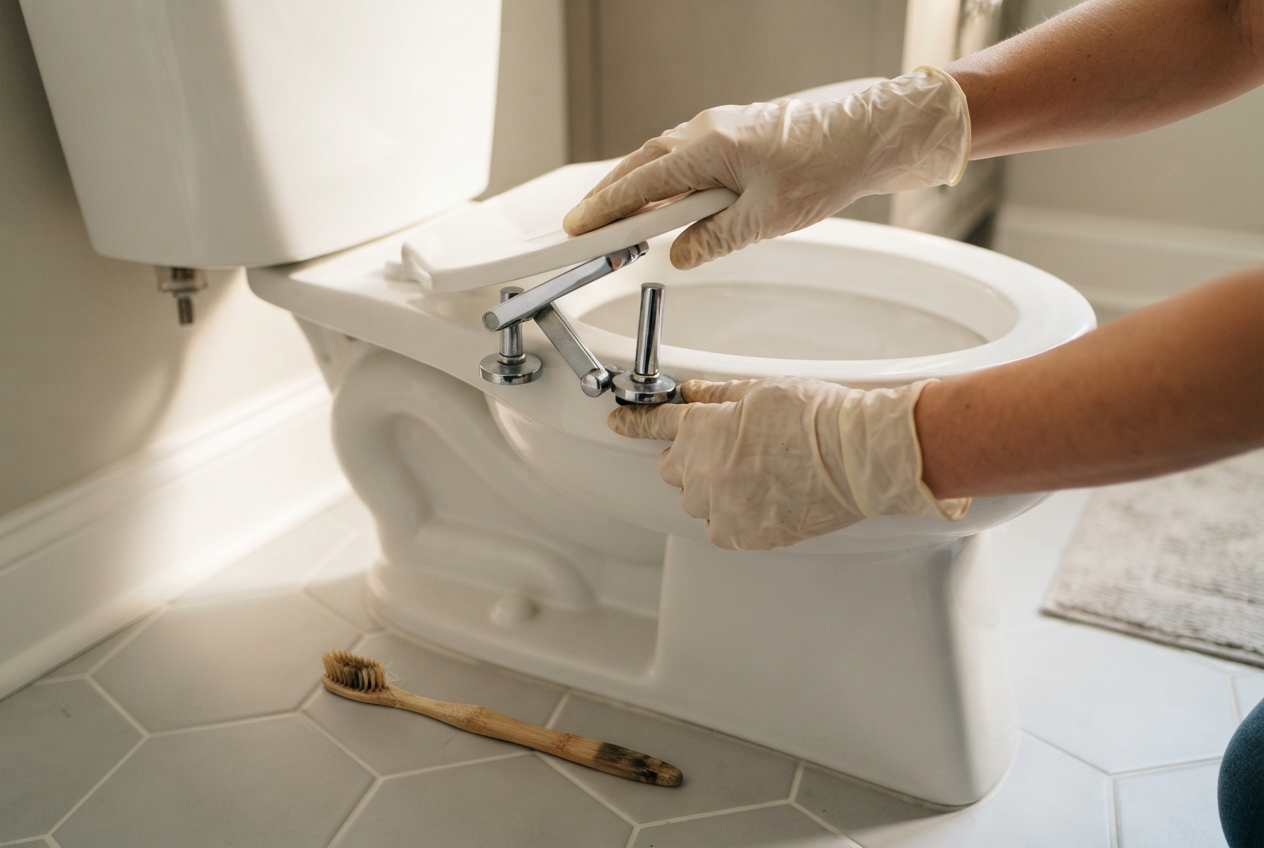
Unclipping the seat exposes the hinge mounts where hidden grime and trapped odors collect out of reach.
Most modern seats come equipped with quick-release buttons. Look on the inner sides or tops of the hinge covers for small push-tabs or sliding locks. Press the tabs, pull straight up, and the entire seat should unclick cleanly from the metal mounting posts. If your seat has standard screw mounts, pop open the plastic flap caps with an old butter knife to expose the mounting bolts.
- Spray the mounting posts and the surrounding porcelain generously with an enzyme-based bathroom cleaner. Enzymes break down the protein structure of dried uric acid crystals rather than just masking the smell.
- Grab a dedicated small cleaning brush or an old medium-bristle toothbrush. Work the bristles deep into the circular grooves, around the rubber washers, and down into the bolt holes.
- Wipe the area clean with paper towels, followed by a damp rag. Let the hardware dry completely before clicking the seat back into position.
Banishing Stubborn Toilet Bowl Rings and Mineral Deposits
Moving inside the bowl, the enemy changes from organic residue to hardened mineral scale. That dark ring circling the waterline is usually calcium carbonate bonded with airborne dust and iron residue from your plumbing pipes. Standard liquid bowl cleaners run straight down the sides into the standing water, barely touching the crusty scale above it.
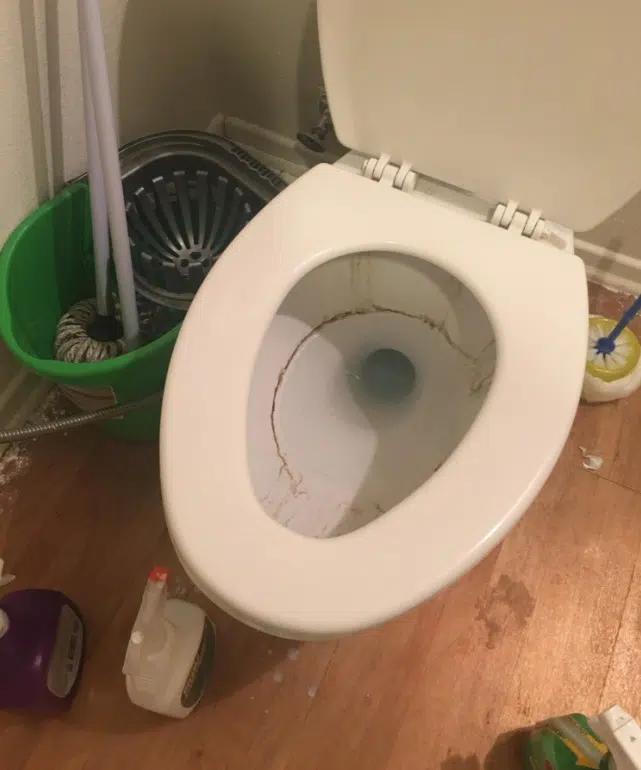
Mineral deposits and iron residue settle right at the resting water line, forming a stubborn ring that standard toilet brushes cannot budge.
To eliminate this ring without breathing in noxious vapors, turn off the water supply valve behind the toilet and flush once to drop the water level below the stained line. If you cannot turn the valve, use your toilet brush to vigorously push water down through the trapway, lowering the water level by a few inches.
The Gentle Pumice Stone Technique
When minerals form a solid shelf on porcelain, physical removal is often the fastest route. Vitreous china has a Mohs hardness rating of around 7, while pumice sits at around 6. Because pumice is softer than the baked glaze, it rubs away mineral crusts without scratching the ceramic underneath, provided you follow one golden rule.
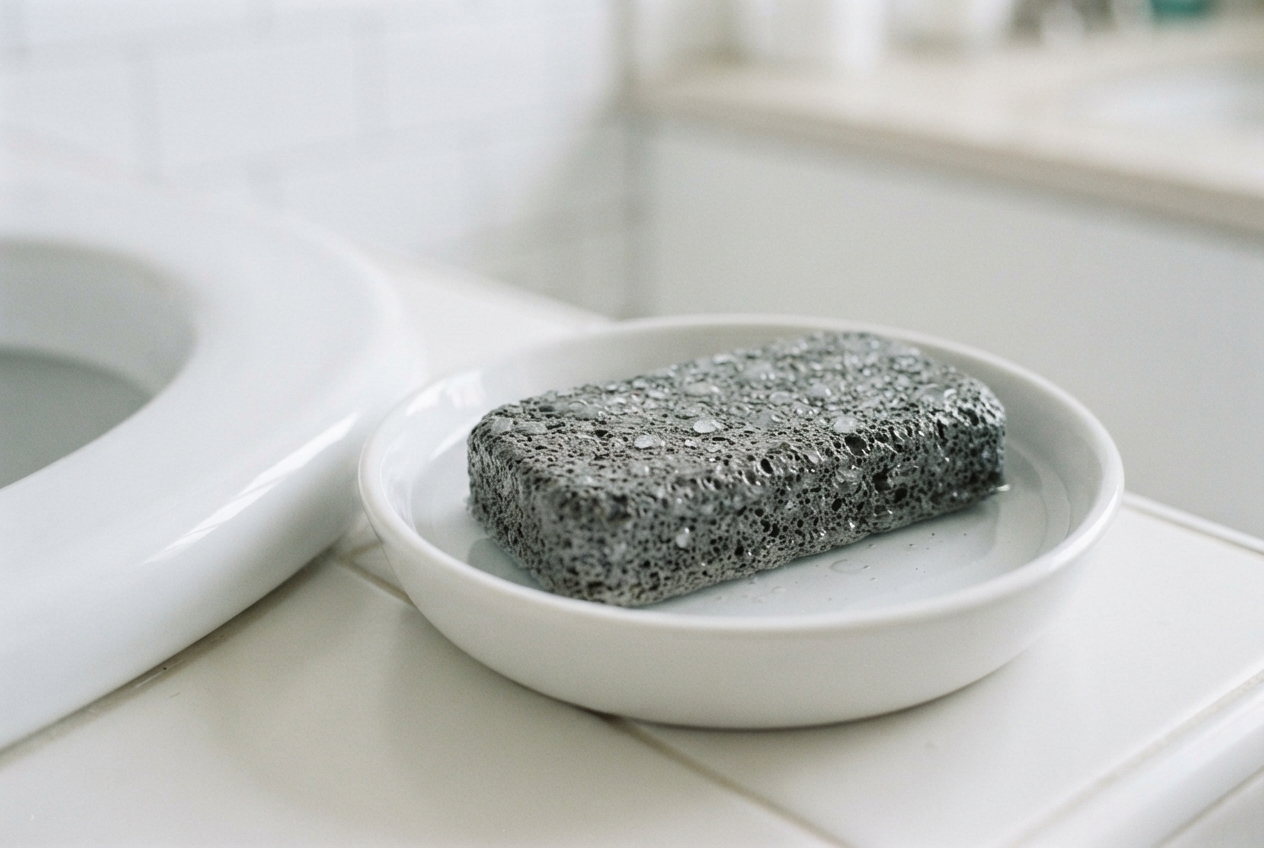
Always keep a pumice stone soaking wet before touching porcelain to prevent scratching the vitreous china glaze.
Submerge your pumice stone in warm water for a solid five minutes before using it. Never, under any circumstances, use a dry pumice stone on dry porcelain. Keep the work area wet as you gently glide the flat edge of the stone back and forth across the mineral ridge. The stone will wear down into a grey paste that buffs away the scale. Rinse the bowl, and the rough ring will be gone.
Porcelain Only: Keep that pumice stone far away from plastic seats, metal flush handles, and colored fiberglass toilets. Pumice will permanently scar fiberglass and strip chrome plating in seconds.
Cleaning Under the Rim: Flushing Out the Jet Holes
Take a small hand mirror, tilt it upward inside the bowl, and look directly beneath the top interior rim. Those tiny holes spaced along the curve are siphon jets, through which fresh water flushes from the tank. Over months, hard water leaves telltale drip marks running down from each jet opening.
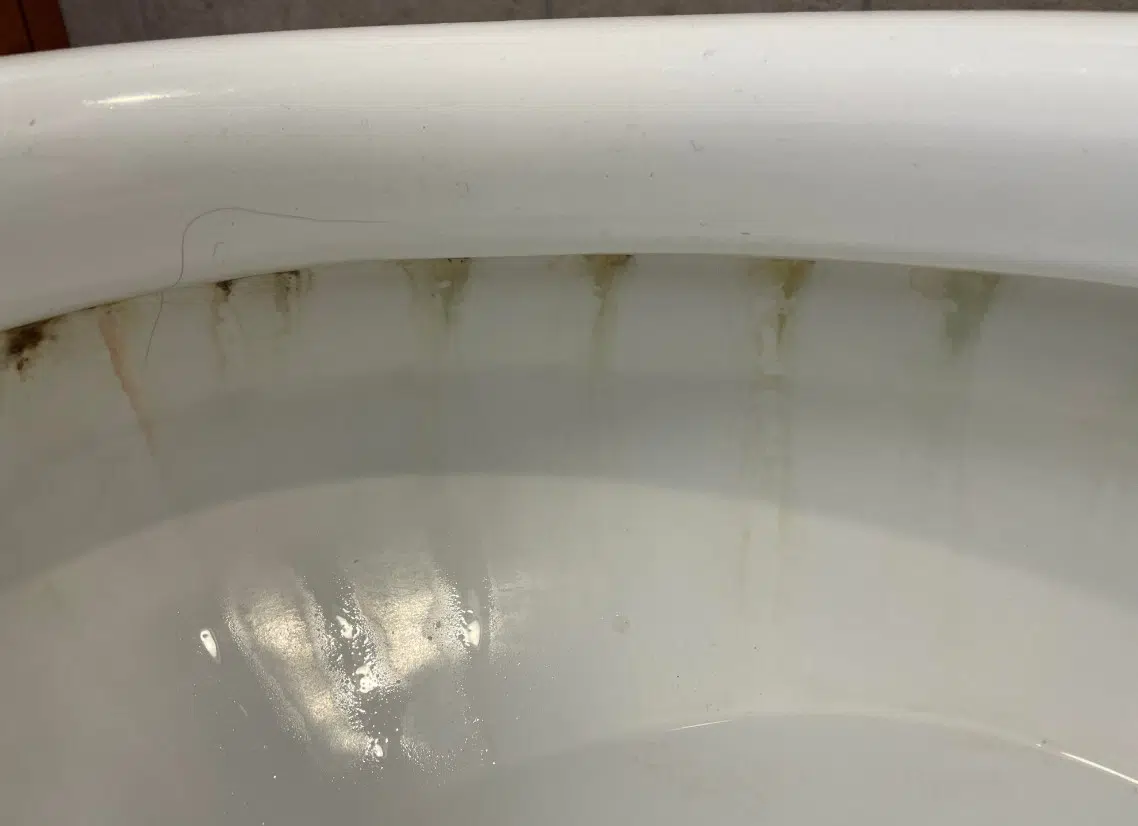
Hard water runs through the rim jets with every flush, creating hidden mineral tracks that slowly turn brown or yellow over time.
Because gravity works against you here, standard sprays simply drip off before dissolving the deposits. Soak several strips of paper towel in plain white cleaning vinegar. Tuck the soaked paper towels tightly under the rim, pressing them directly against the jet holes so they stick like paper-mache.
Leave the vinegar wraps in place for forty-five minutes. The mild acetic acid slowly breaks down the calcium bonds. Pull down the paper towels, toss them into the trash bin (never flush paper towels), and scrub the rim channel with a stiff-bristled angled rim brush. You will be amazed at the dark sediment that washes away into the bowl.
The Base, the Floor Seam, and Routine Prevention
A sparkling seat and a spotless bowl mean very little if the base of the toilet is neglected. The bottom flange where the porcelain meets the bathroom floor is a dust collector. Add in stray moisture from showers, pets, or family members, and the caulk line can turn a grimy shade of grey or yellow.
- Start by dry-dusting the base and the floor behind the bowl with an electrostatic duster. Applying liquid cleaner to dry hair and lint simply turns it into stubborn wet sludge.
- Once the dry dust is clear, spray the seam with warm water mixed with a few drops of dish soap and a splash of hydrogen peroxide.
- Wipe down the porcelain curves with a soft cloth, working from the clean top down to the dirty floor. Use an old rag along the silicone caulk seam to lift any trapped residue.
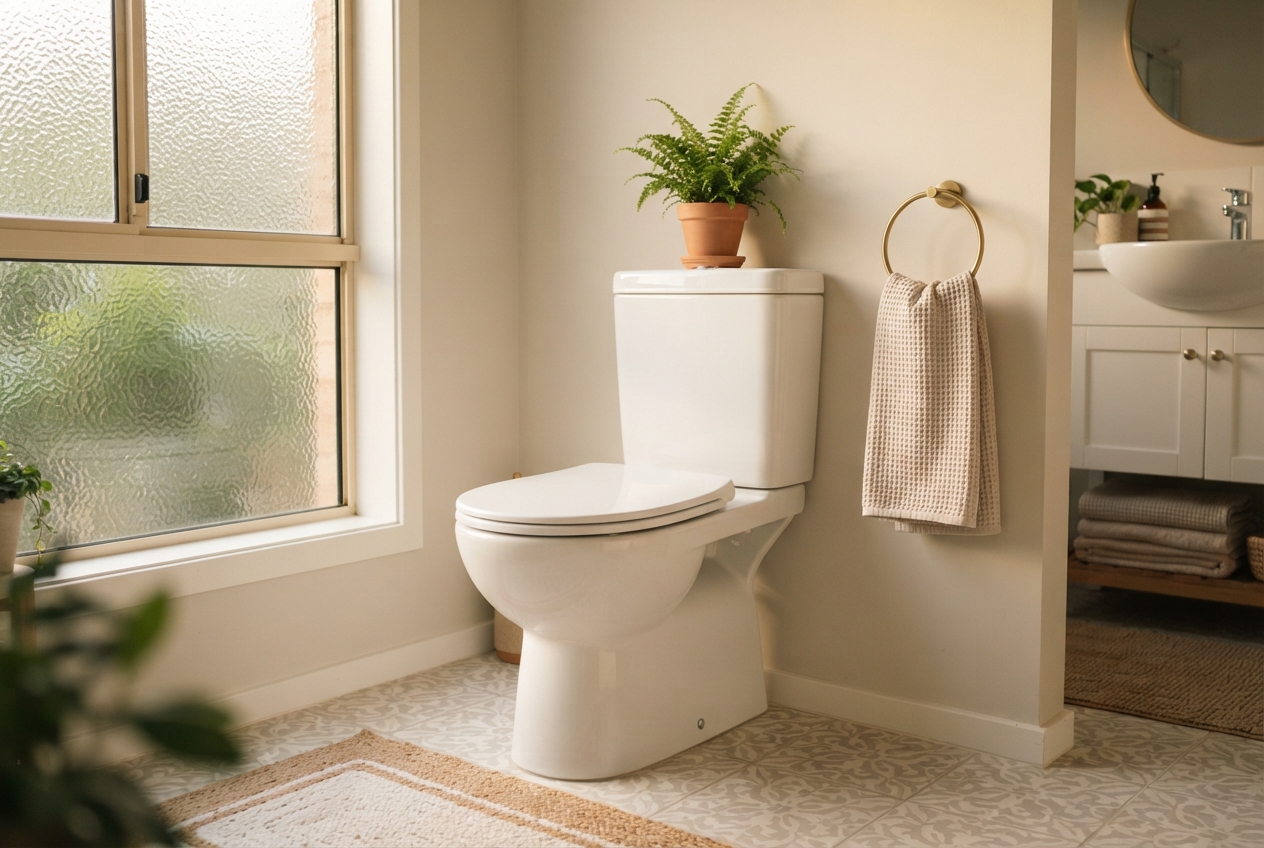
Consistent weekly maintenance keeps porcelain gleaming and saves you from marathon weekend scrubbing sessions.
When It Is Time to Replace Rather Than Scrub
Knowing how to remove yellow toilet stains will handle ninety percent of bathroom headaches, but every household material has an honest lifespan. If you have tried peroxide pastes, enzymatic cleaners, and gentle acid soaks, yet the seat remains distinctly discolored, the plastic itself may have reached the end of its road.
Over five to ten years of heavy use, ultraviolet light from nearby windows and previous interactions with harsh chemicals can cause plastic to oxidize throughout its entire thickness, not just on the surface. When the discoloration goes all the way through, no amount of scrubbing will restore that crisp factory white. Fortunately, a sturdy replacement seat with quick-release hinges costs relatively little at any hardware store and installs in under ten minutes with a simple screwdriver.
For everything else, staying ahead of mineral scale and organic grime is simply a matter of cadence. Keep a spray bottle of diluted hydrogen peroxide tucked beneath the sink, give the underside of the lid a quick mist and wipe once a week, and let your bathroom stay the clean, quiet sanctuary it was meant to be.